Project GSX-Reborn: Episode 4
By Bruce Dunn

Welcome Back to BeMoto Project GSX-Reborn. The story so far...
Episode 4: Pissy Pond Water
It's a busy time of the year for me, so Project GSX-Reborn hasn't had that much attention recently. During the past few weeks there have been loads of bikes to performance test, in my professional capacity as a freelance road tester for Britain's best-loved biking mags and newspapers, so I've literally been flat out for most of the time.
Some of the stand-out bikes this year so far have been somewhat unexpected. For example, the new Royal Enfield Himalayan 450 has totally surprised me. Before now, it was a rugged bike that delivered moderate performance coupled with very low running costs. But the new-for-2024 model is a complete departure from the old one, night and day different with superb handling characteristics and a punchier motor, I was very pleasantly surprised.
At the other end of the performance and price scale, I also got to put the mighty BMW M1000XR through its paces. This Bavarian beast made 190bhp on the dyno and did over 170mph on the test track. This has got to be the weapon of choice for anyone wanting to demolish their sat-nav arrival times!
Another distraction has been my Yamaha TZ250. Thoughts about how I can make it faster and more powerful are always spiralling around my brain, so I have just been re-configuring the top end with different clearances and volumes. Although I'm not planning on doing a full season, I'll defo aim to get out for a meeting or two when the weather warms up.
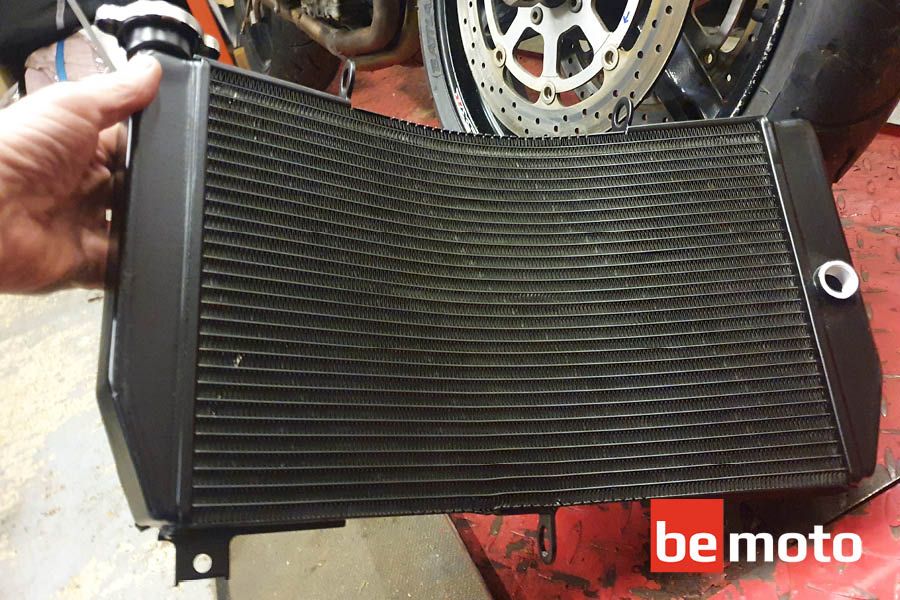
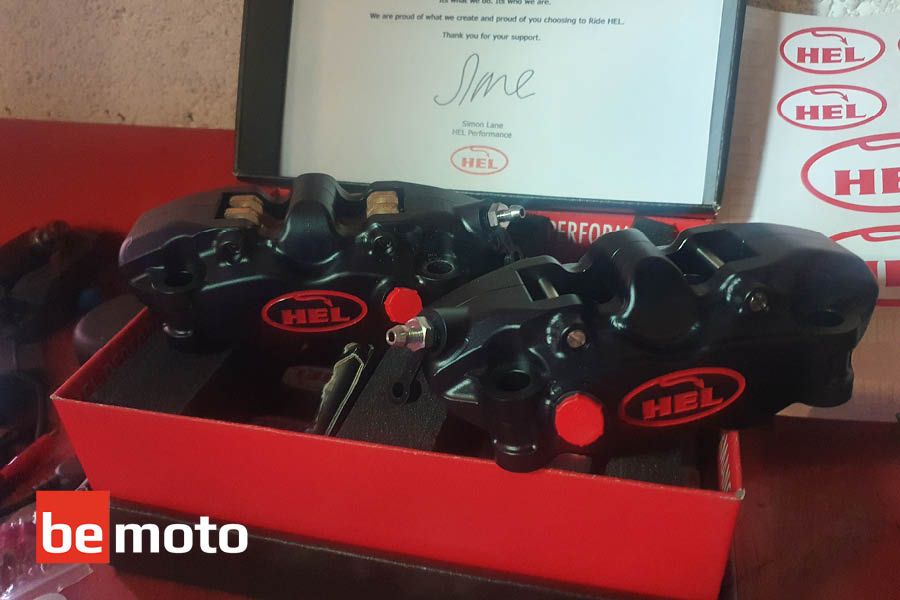
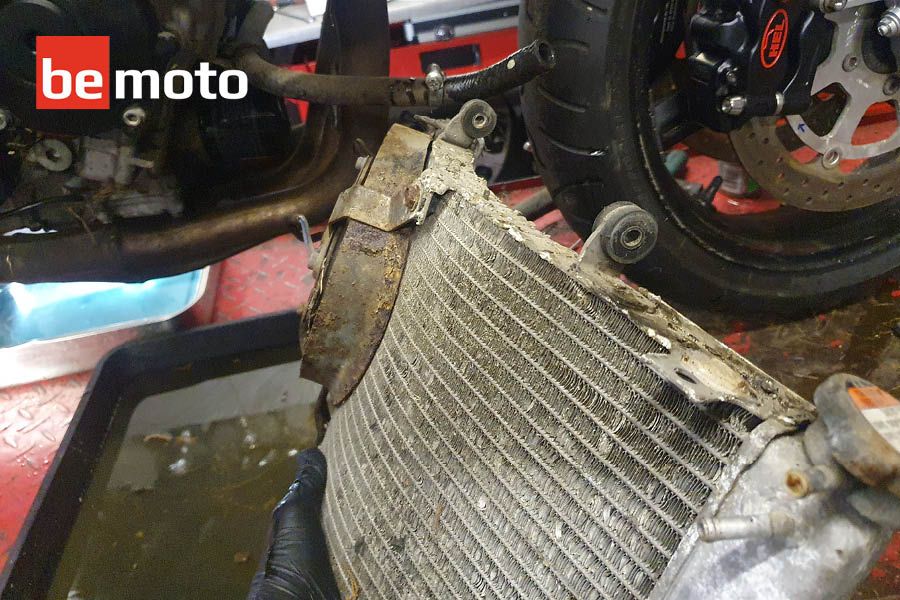
Enough of the excuses: Project GSX-Reborn has made its way back on the bench and now it's time to fit a new radiator. The old one was completely rotten - I can't ever remember seeing a rad so knackered – so much so, you could run your fingers over the alloy fins and they would disintegrate into to white powder. I sourced a pattern replacement on eBay from a UK stockist – it cost £155 delivered and the quality looks reasonable. Plus I fit a Hel radial calliper conversion kit whilst it's on the bench.
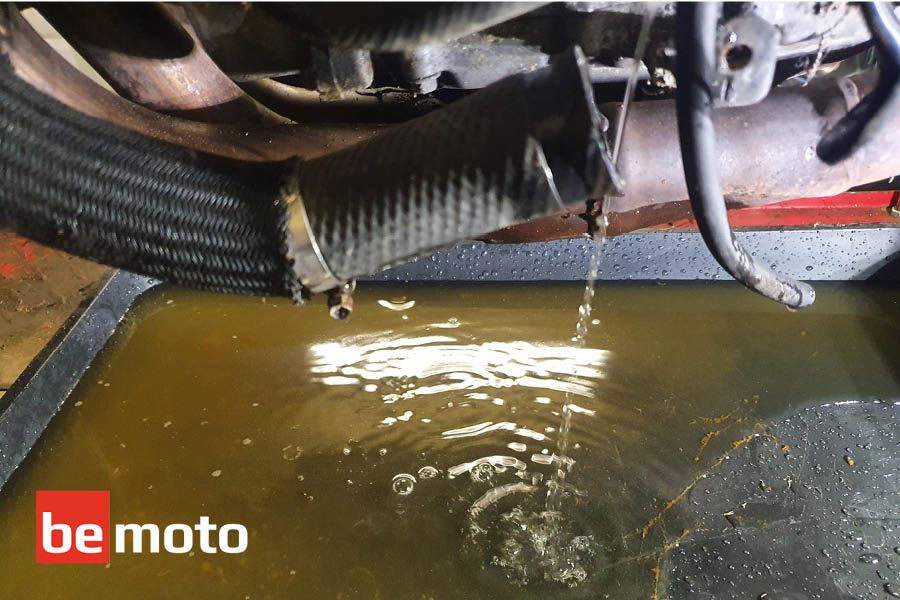
Not so cool… Stagnant Pond Water
When fitting a new radiator, naturally the first thing to do is drain the existing coolant out, and the quickest way to do this is remove the rad cap and then undo the coolant hose that connects to the water pump. The GSX-R's coolant, or shall we say pissy-looking liquid, had its own unique aroma, probably best described as oily stagnant pond water.
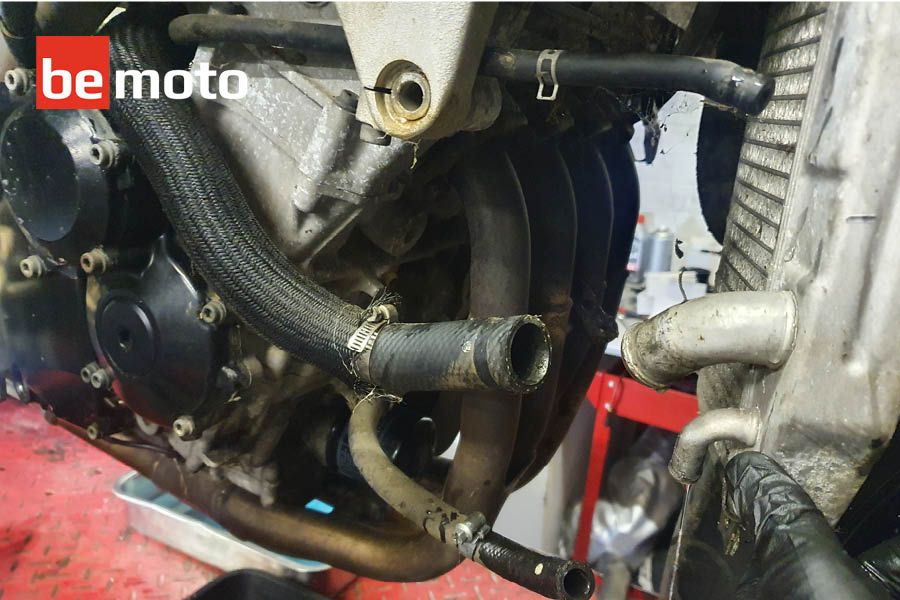
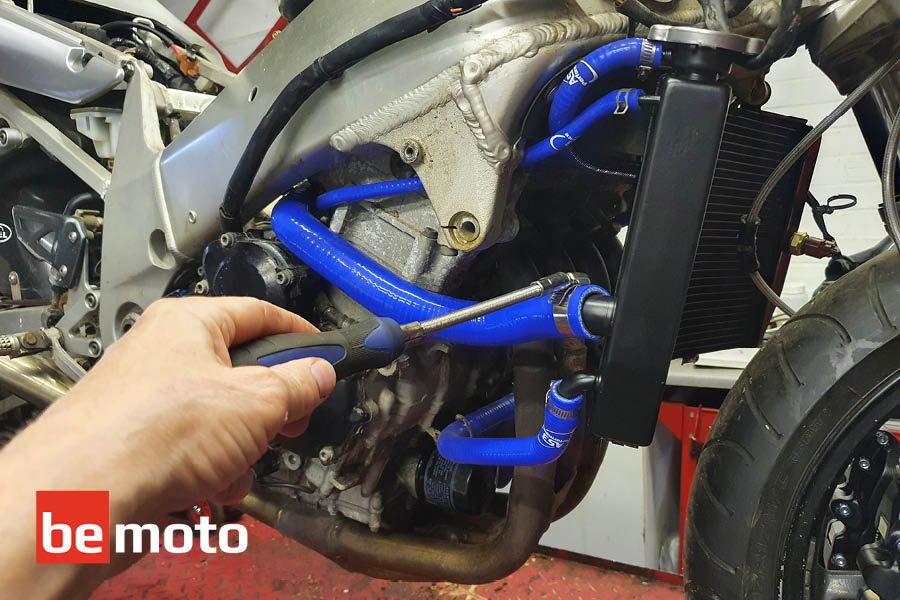
Anyway, as it was draining out it occurred to me that the coolant hoses were starting to crack, and along with the rusty clips, I decided it was probably a good idea to replace them at the same time. I sourced the hoses from AS3performance.co.uk, who supply a full, model-specific kit that has all the hoses specifically shaped to replace the originals. At the same time I ordered a full set of stainless steel hose clips to replace the rusty originals.
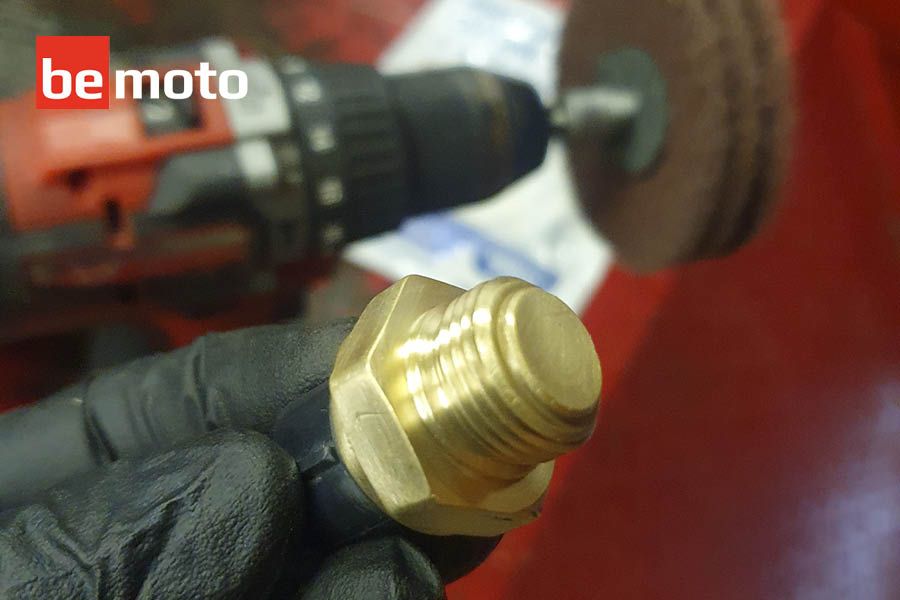
Getting the old radiator off was fairly straightforward once the hoses were unclipped. All I needed to do was undo the electrical connectors for the fan and temperature sensor. The two bolts at the top and bottom came out easily, and then it was just a case of refitting the temperature sensor and fan to the new rad. I gave the sensor a quick buff up with a Scotchbrite pad mounted on my drill and it instantly removed all the 21 years of tarnish, revealing the original shiny brass finish!
While the radiator and hoses were off, I took a bit of time to clean around the engine. I used a thick-bristled nylon brush on the end of a drill to try and get rid of some of the powdery corrosion. Thankfully, there are no oil leaks so there was no real need to de-grease it. In an ideal world you would remove the engine and strip it down then give all the cases the vapour blasting treatment, but this is not a restoration project. We just want to get the bike refurbed to a standard that will make it a reasonable track day bike that's safe to ride. Having said that, Project GSX-Reborn is starting to look quite good now that a lot of the parts have been cleaned or replaced with new.
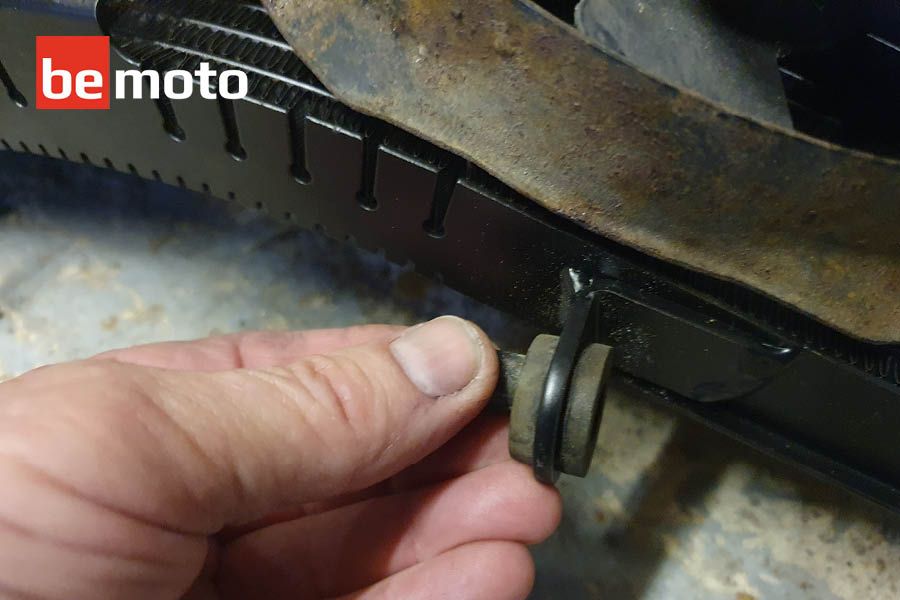
Re-fitting the radiator was straightforward, the temp sensor and fan fitted perfectly. An important tip here is to make sure you fit the original spec rubber dampers and spacers when mounting the radiator. The dampers work to minimise the vibration transmitted to the radiator by insulating it with rubber grommets, and once tightened up the bolts squeeze the rubber and crucially are not in contact with the metal bracket.
Time will tell how well the new, pattern radiator performs, but everything is lined up and fitted as it should, and at least it's not got a rotten core like the old one. All the hoses fitted a treat, too.
Fitting the Hel Radial Callipers, or is it Calipers?!
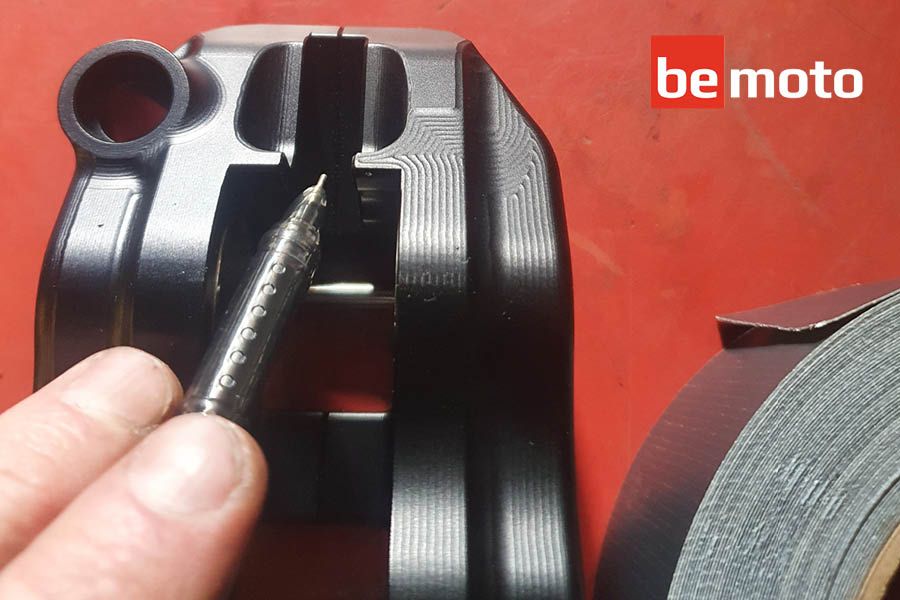
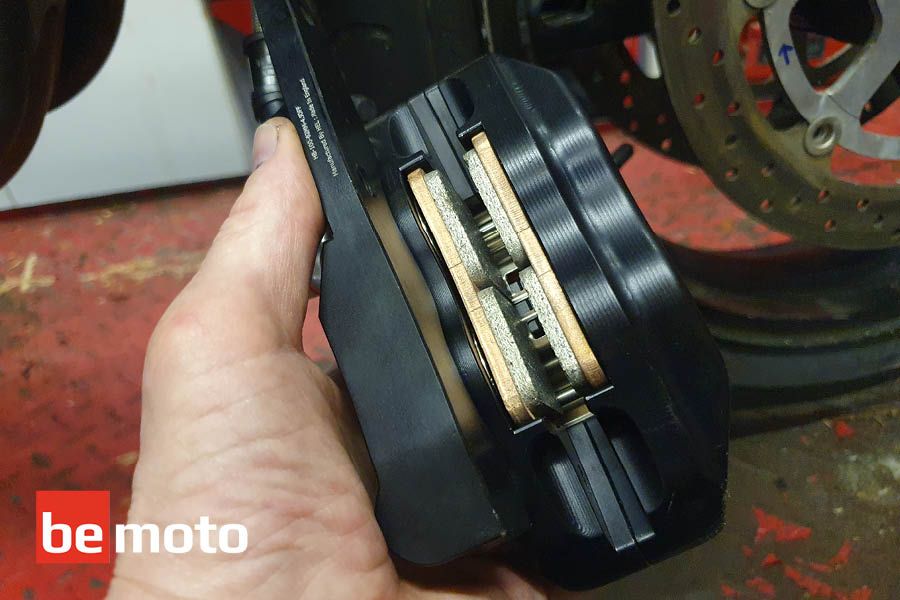
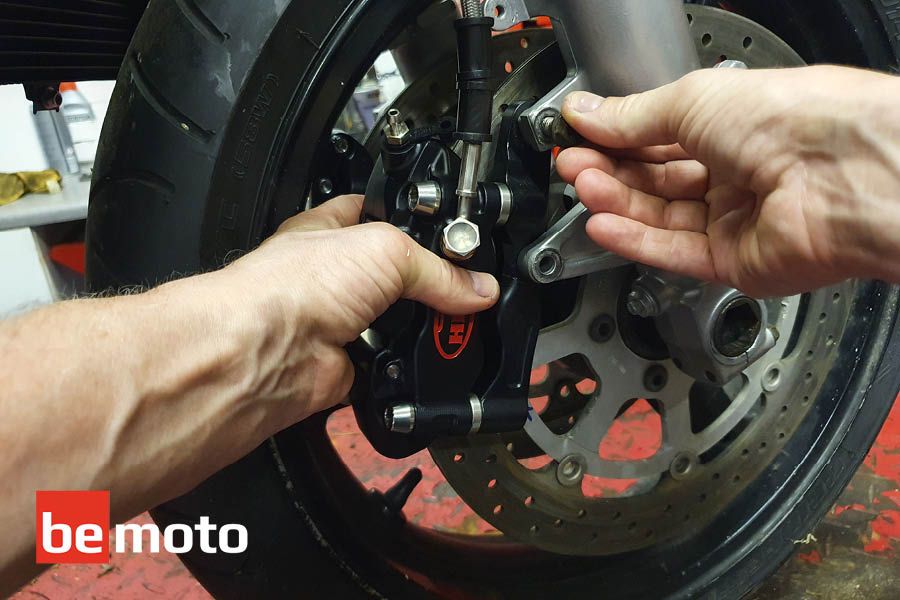
The next job is to fit new brake callipers: these were brought to my attention by Hel Performance who sorted the fitment out for us. They are super-trick radials that are fitted to the bike via conversion brackets on the original mounting points. The fitting is relatively straightforward, you just have to be aware of the clearances that are needed in specific areas. For example, the conversion brackets need to be fitted to the fork and spaced correctly so that the calliper has the disc running centrally through it.
A good tip here is, before you start fitting the new callipers, make sure that your front wheel is fitted correctly. It might sound daft, but it's easy to fit a front wheel a little bit off centre. It's best to follow the exact installation procedure as described in the workshop manual. The detail is really important, especially the sequence of tightening up fork spindle pinch bolts and the spindle nut - generally it's wrong to tighten the pinch bolts before the spindle, but like I said check the manual for your specific bike.
Anyway back to installing the new callipers... make sure to dry fit them first. They will most probably need to come off and on a few times until you get them right, so dry fitting will save time and messing about with brake fluid until it's necessary. I managed to get this set fitted to the GSX-R with no issues. I also took the opportunity to fit new brake lines, as the previous set of Hel Performance lines were a slightly different length. When you fit new lines make sure that they are routed properly and don't get pinched or stretched when the steering is on full lock.
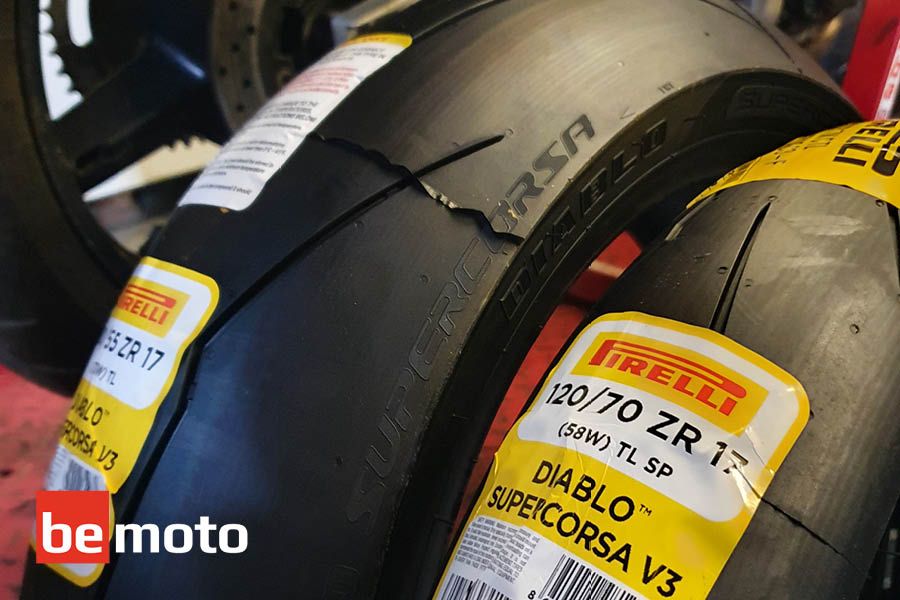
The to-do list is definitely shrinking, but there are still a fair few jobs left for Project GSX-Reborn such as new chain and sprocket, powder coat the wheels, fit new tyres, and I'm also thinking that I should check and adjust the valve shims, too. Then, when all that is done, it needs dyno-ing, a flash paint job or bling wrap doing and then finally a track test… let's crack on!
Special thanks to:
GSX-R600 K3 spend so far... £2,202.23
These are the bits we bought this month.
- Radiator hose kit £79.99
- Brake Fluid £11.90
- 3 litres of coolant £24.00
- 3 litres of engine oil £26.97
- Chain and sprocket kit £99.95
Total £242.81
Tally: £2,202.23 (including the bike)
Target: £3,000 (including the bike)
Look out for Episode 5 where we start putting the finishing touches to our K3 track bike and solve the mystery of its previous life as a stunt bike.
Also, why not check out our various track and race bike insurance products to see how BeMoto can help insure you, your bike(s) and your race van.
